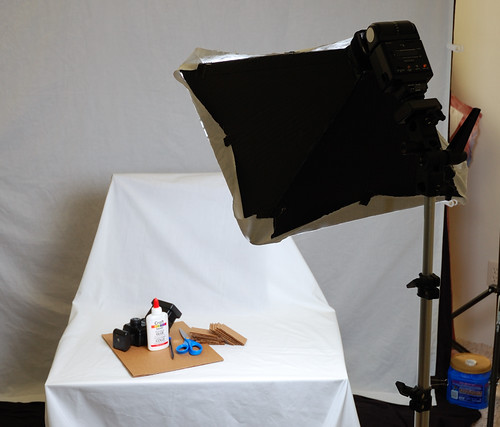
The first part is the super simple one. Before I decided to make a 20" softbox from the standard art foam boards, I used some cardboard to practice with. Here's the end result of the cardboard softbox.
This is pretty simple really. Just get some cardboard boxes. I just cut each side into their own pieces. You need 4 pieces, so you may end up cutting up another box. It really depend on how large the box is. Keep in mind, this is just practice, so you don't need a large softbox. In my case, I think they ended up to be about 16".
Once you have the four pieces, just get a straight edge. Measure the flash head. The flash head will be a rectangle, so you need the long edge and the short edge. Next, decide how long the head will stick into the softbox.
Here's an example, say the flash head is 3" x 2" and I want the head to sit 3" into the box. Now find the center of the back edge of the cardboard. This is the edge that you will put the flash head into. For example, if the carboard is 16" wide, then the center will be 8". Your long edge of the flash head will be 3" / 2 = 1.5" each side from the center. So, just mark the edge 1.5" from the center to each side. Since the head sits in 3", draw up from each edge marking up 3". Basically you have a rectangle drawing in the center/edge of the box after.
Once you have marked the the edge noted above, take the straight edge and start at the top edge's corner. Left and right. Draw a line from each corner to the corner spot inside from the edge from your marking above.
Now do the same for another piece just like the above one. Using the same idea, do the same for the other two pieces, except this time, your are only marking 1" from the center to each side. Remember, this edge is for the short edge of the flash head which is 2".
Now that you have all the pieces marked, just cut the sections out.
More tomorrow...
No comments:
Post a Comment