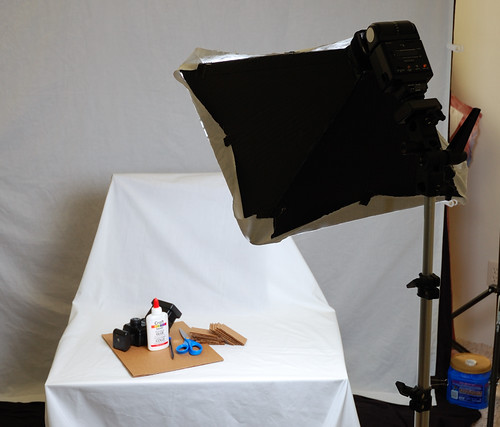
The cardboard is brown, so you need to either paint the inside white or line it with baking foil. I have some 3M spray glue, so I just glued some baking foil. I also glued the cotton diffusion cloth to the front of the box. This cardboard diy softbox was just to get some experience under the belt :)
Now, onto the foam board DIY softbox. (note, this is not some original idea I had. There are a number people that's done this as well) The same idea applies to the cardboard softbox as well. You can get these standard size foam boards at any art store. I got mine on sale for $1.50 each at JoAnne Fabrics. To keep it simple I just cut the pieces in half, down the center:
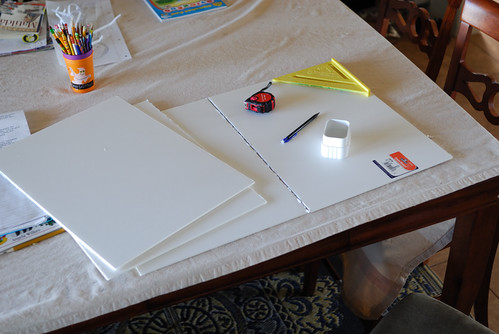
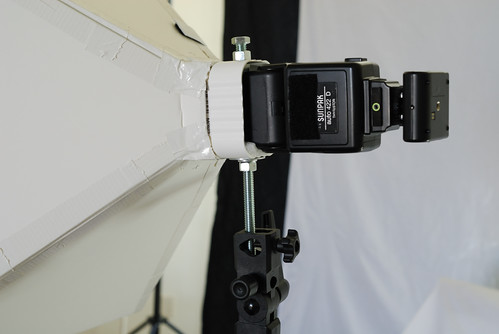
I also picked up a rain gutter down spout from Home Depot. This fits very fell for my Sunpak 422D. It is a very tight fit for a SB-900 though, since you need to run a bolt on one side for a simple umbrella holder mount, but you can use a different mount, which then will allow for a better fit on your SB-900.
Once you have the pieces cut in half, do the same measuring and cut like I explained in the previous post. It should look like this:

I used white duct tape to tape the pieces together. I did mine so that they can actually fold. I used some Velcro on the last side so that you can undo that edge, other wise you can't fold it up.
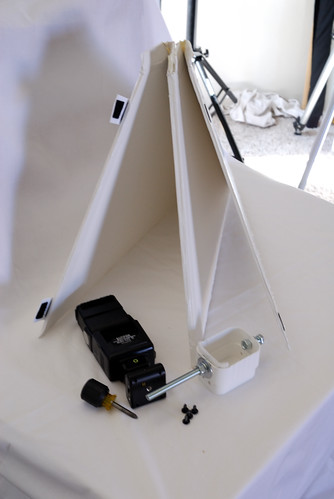
I marked one side of the spout and foam board so that the screw holes match the correct side. i drilled two holes on each side to secure the softbaox to the spout. Once this is done, I drilled two more holes, one on each of the short edge. Got a 4" long 3/8" bolt and bolted to one end. This becomes the mounting rod for the umbrella holder. The other side can be used with another 3/8" bolt to secure the flash head. This works for my Sunpak 422D. Depending on what flash you have, this may not work. For example, the down spout will not work at all for a 285HV because the flash head is way too big. Just an idea, if you are making one for the 285HV, you can get some L brackets to create the "box" end of the softbox. Obviously, you will have to think about how to mount the softbox and flash to a light stand.
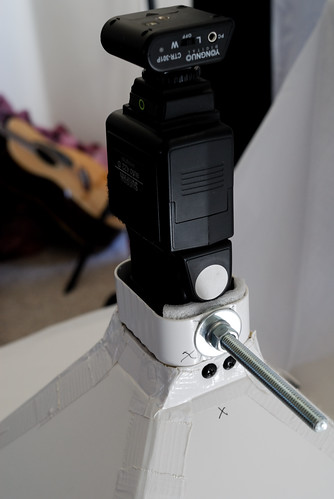
Here's a view of the mounting:
Here's the Velcro edge. I'll probably add another Velcro piece in the center. This was just a quick pic right after making this. So far, after a few weeks, it's still holding fine.
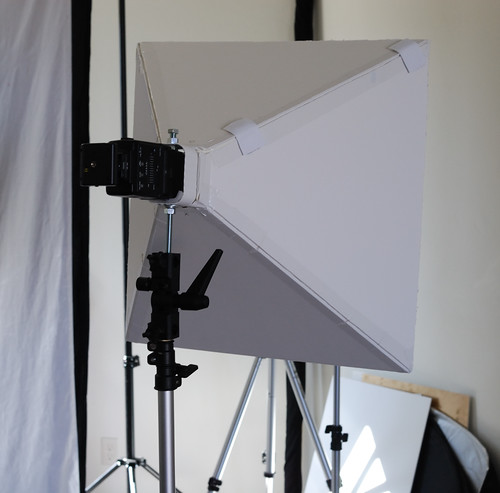
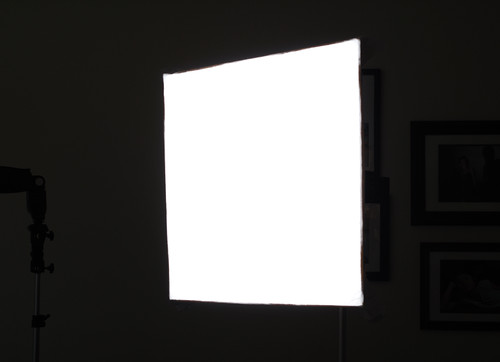
A few more pics of the softbox:
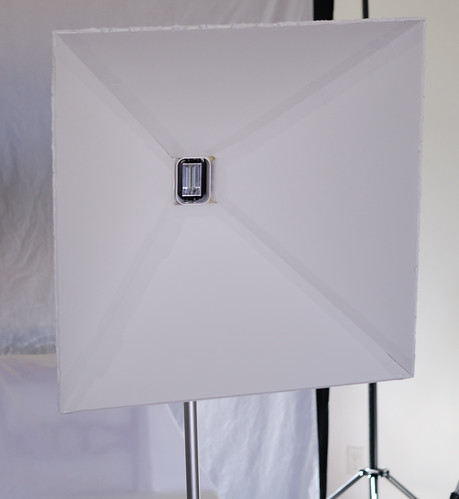
I cut the cotton cloth and stapled some Velcro to the cloth, and glued the other side of the Velcro to the edge of the softbox. By the way, I buy the industrial strength Velcro which have glue backing built in.
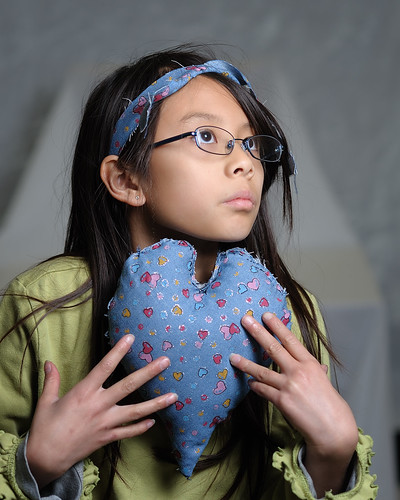
Here's a quick test shot using the Sunpak 422D. Notice the soft shadow from Ashley's glass frame on her face.
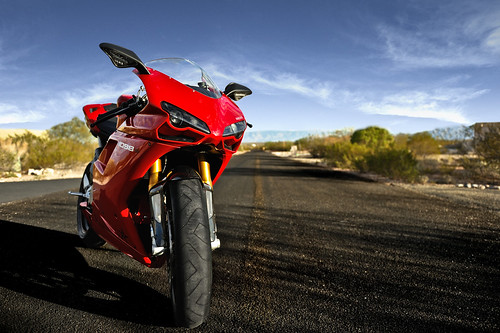
Here's another quick shot I took yesterday under bright sun light in the back yard, using a SB-900 in iTTL and my old school manual focus 80-200mm f/4 ais lens :) No post processing to the picture itself, just a bit of EV bump and a crop.

I'm planning to do another softbox with the foam board as is. This will be a rectangle softbox running 40" long. I can't remember the length of the short side, but it does not matter, whatever the size the boards are, it will be :)